
Local Setup Using Virtual Host (Apache)
Step 1: Setup Virtual Host (Required)
First, configure the Apache virtual host:

Restart Apache after saving the file.
This method creates a complete backup of your WordPress website by exporting the database and compressing all website files into a single ZIP file for safe storage and easy restoration.
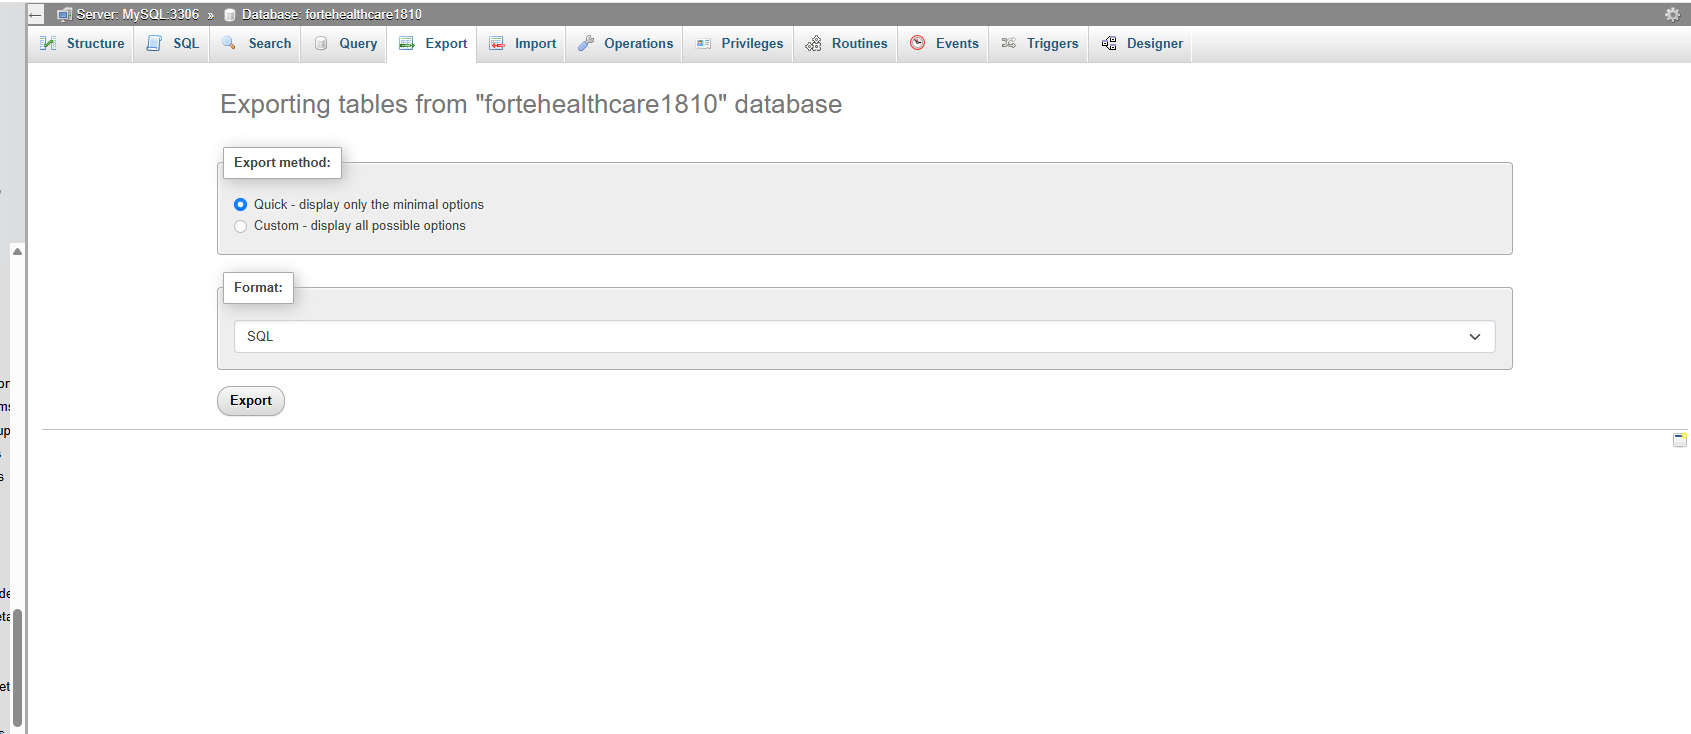
Step 1: Import Database (DB)
1. Login to phpMyAdmin
2. Create or select the target database
3. Click Import
4.
Click Choose File and select the .sql fil
5. Click Go to start the import
-Import Large Database Using CMD (Windows – WAMP)
Steps
-
Open Command Prompt
-
Navigate to the folder where
zip_db_name.sqlis located
Example: -
Run the full MySQL import command:
-
Enter the MySQL password when prompted
-
Wait for the process to finish
Step 2: Extract Website Files into Local Project Folder (Localhost)
-
Open your local server directory
(Example:htdocsfor XAMPP,wwwfor WAMP,wwwfor Laragon) -
Create or open your project folder
-
Copy the website ZIP file into the project folder
-
Right-click the ZIP file → Extract Here
-
Ensure all WordPress files are inside the project folder
Step 3: Remove SMTP Plugins (Required)
Deactivate and delete all SMTP / mail plugins to avoid local email errors.
Step 4: Add Rules at Top of .htaccess
Add the following at the top of .htaccess:
Step 5: Verify URLs & Database Access
Check
wp-config.phpfor correct:Database name
Username
Password
Check
wp_optionstable:siteurlhomeEnsure both use the correct local URL
Step 6: Update Admin Email (Database)
Update admin email directly in the
wp_optionstable if required.
Step 7: Reset Admin Password
Change admin user password directly from the
wp_userstable.Login to WordPress Admin.
Step 8: Save Permalinks
Go to Settings → Permalinks
Click Save Changes
Step 9: Elementor Fix (If Elementor Site)
Go to Elementor → Tools
Click Sync Library
Click Regenerate Files & Data
Step 10: Save Permalinks Again
Go to Settings → Permalinks
Click Save Changes again
Step 11: Remove Cache Plugins (Optional)
Deactivate and delete cache plugins (not mandatory for local).