
Local Setup Using Virtual Host (Apache)
Step 1: Setup Virtual Host (Required)
First, configure the Apache virtual host:

Restart Apache after saving the file.
The UpdraftPlus Backup & Migration Plugin is trusted by the WordPress community to backup, restore and migrate their WordPress websites. UpdraftPlus is actively installed on more than 3 million websites around the world.
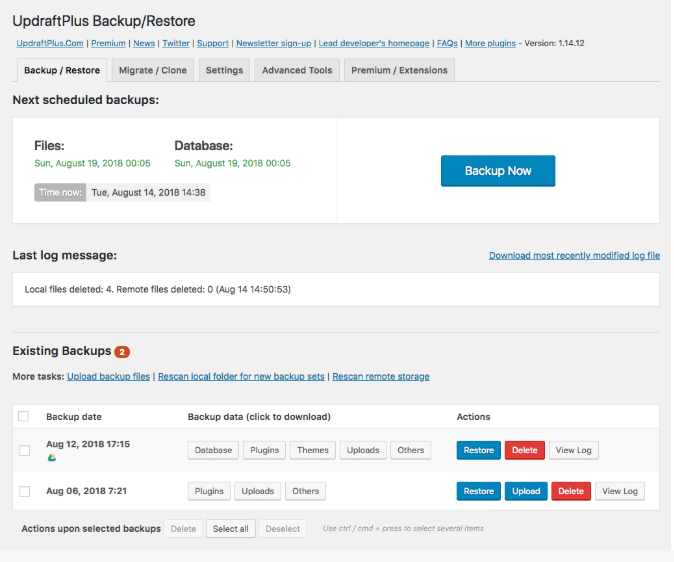
How to Take Backup with UpdraftPlus
1.Go to Settings -> UpdraftPlus Backups
2.Click Backup Now
3.Tick:- Include database
- Include files
4.Click Backup Now again
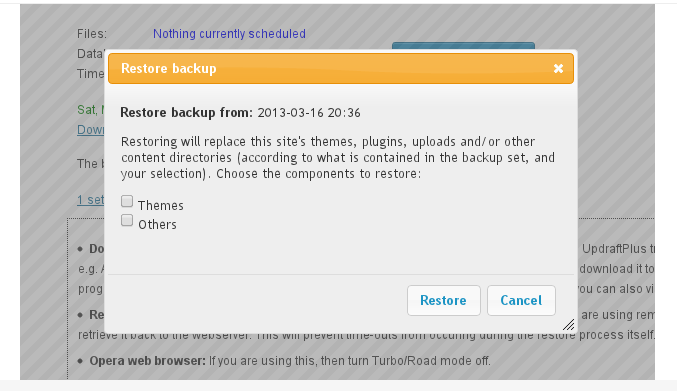
How to Restore Backup
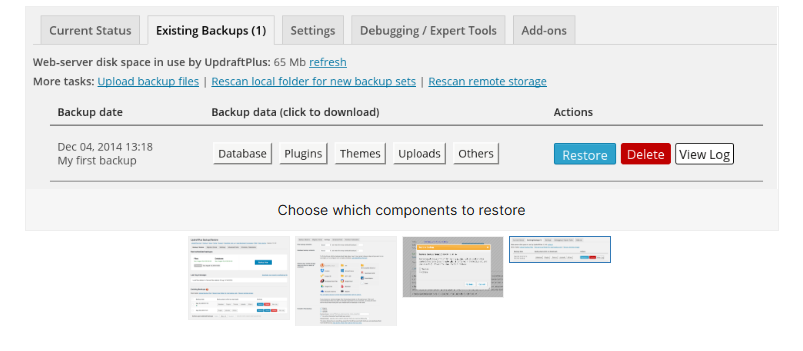
1.Go to Settings -> UpdraftPlus Backups
2.Scroll to Existing Backups
3.Click Restore
4.Select what to restore -> Next -> Restore
How to Migrate Site (Basic)
1.Take backup on old site
2.Upload backup files in Existing Backups
3.Install UpdraftPlus on new site
4.Click Restore
Step 2: Remove SMTP Plugins (Required)
Deactivate and delete all SMTP / mail plugins to avoid local email errors.
Step 3: Add Rules at Top of .htaccess
Add the following at the top of .htaccess:
Step 4: Verify URLs & Database Access
Check
wp-config.phpfor correct:Database name
Username
Password
Check
wp_optionstable:siteurlhomeEnsure both use the correct local URL
Step 5: Update Admin Email (Database)
Update admin email directly in the
wp_optionstable if required.
Step 6: Reset Admin Password
Change admin user password directly from the
wp_userstable.Login to WordPress Admin.
Step 7: Save Permalinks
Go to Settings → Permalinks
Click Save Changes
Step 8: Elementor Fix (If Elementor Site)
Go to Elementor → Tools
Click Sync Library
Click Regenerate Files & Data
Step 9: Save Permalinks Again
Go to Settings → Permalinks
Click Save Changes again
Step 10: Remove Cache Plugins (Optional)
Deactivate and delete cache plugins (not mandatory for local).